How to Install PDM Add-ins
Installing PDM add-ins from Blue Byte Systems Inc., is a simple process.
Step 1: Locate the .cex File
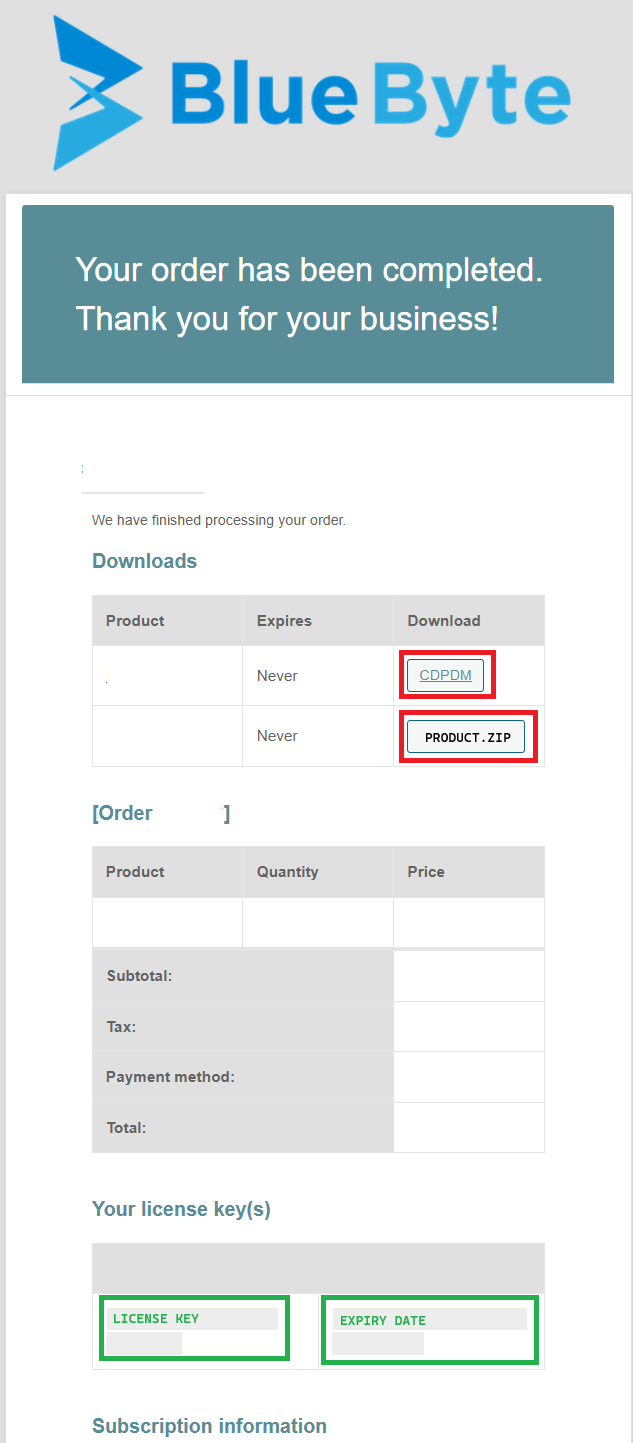
After purchasing one of our PDM add-ins, you will receive an order email with the header Thank you for your business! Your BLUE BYTE SYSTEMS INC. order has been completed.
This email has a link to download a .zip archive that contains a .cex file. The .cex file is what you open with the Administration tool and it has the latest version of the PDM add-in.

Order email
Step 2: Download and Unblock the .zip File
Download the
.ziparchive from the link provided in the order email.Once downloaded, right-click on the
.zipfile and select Properties.In the Properties window, check for the Unblock option at the bottom. If it is present, click Unblock and then click OK. This step ensures that the file is not blocked by Windows security.
Note
You can always find the latest .cex files from the Downloads section in your Blue Byte Systems account. Your account username is the email used to make the order.
Step 3: Open the SOLIDWORKS PDM Administration Tool
Extract the
.ziparchive file to get the.cexfile.Launch the Administration tool.
Log in to your PDM vault.
Step 4: Add or Update an Add-in
In the Administration tool, go to File > Open... and browse to the location of the
.cexfile.Select the
.cexfile and click Open. This will display the add-in in a new window inside the Administration tool.Drag and drop the add-in from the window into the Add-ins node in the left-hand tree view.
This process is similar when updating an existing add-in. Simply follow the same steps to replace the old version with the new one.
Step 5: Verify the Installation
After installing or updating the add-in from the
.cexfile, ensure that the add-in appears under the Add-ins node. Make sure the version matches with the order email.Test the functionality of the add-in to confirm that it has been installed correctly.
Note
Follow the steps below to install the add-in successfully. For a visual guide, you can watch this video:
Note
If you encounter any issues during the installation process, refer to the documentation provided with the add-in or contact support for assistance.