Annotations Tab
This section provides an overview of the Annotations tab and explains the available options for customizing exported annotations.
Creating Custom Annotations and/or Watermarks
- Select the "A" button (Add annotation) in the top right corner. A new annotation box will appear in the window below.
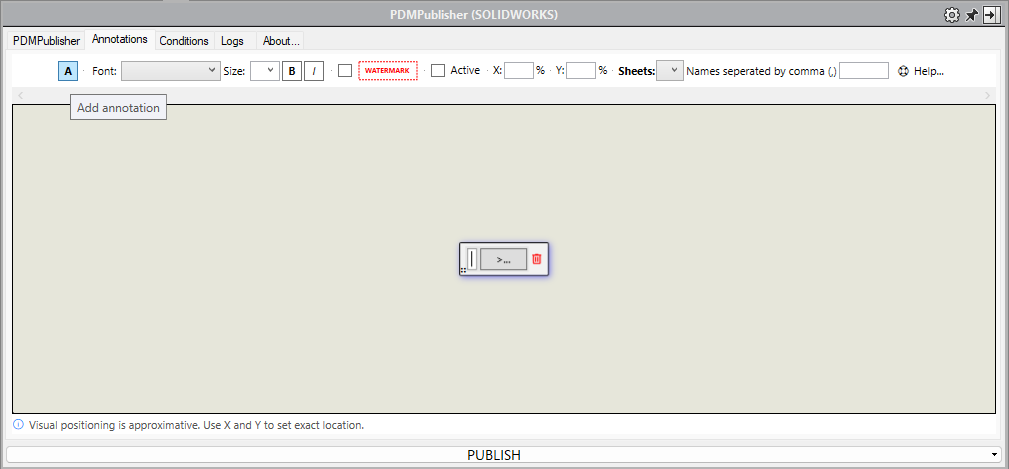
Adding Annotation Text
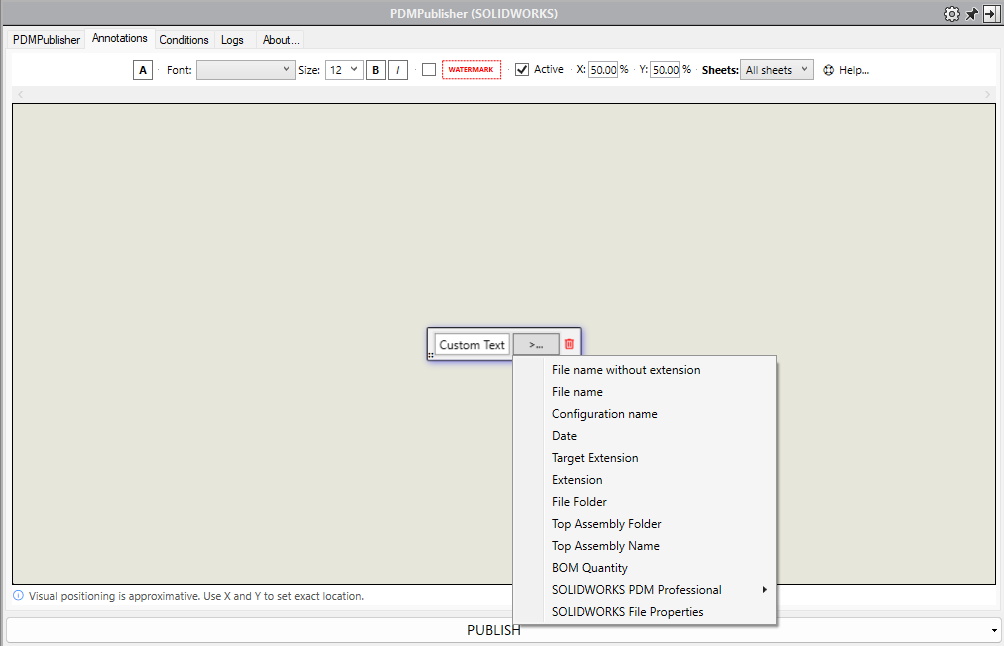
- From the newly created annotation box, you can enter custom text and/or link the annotation to properties contained within the file.
Note
The list of SOLIDWORKS properties available for use in the annotation is determined by the active document and the specific properties it contains.
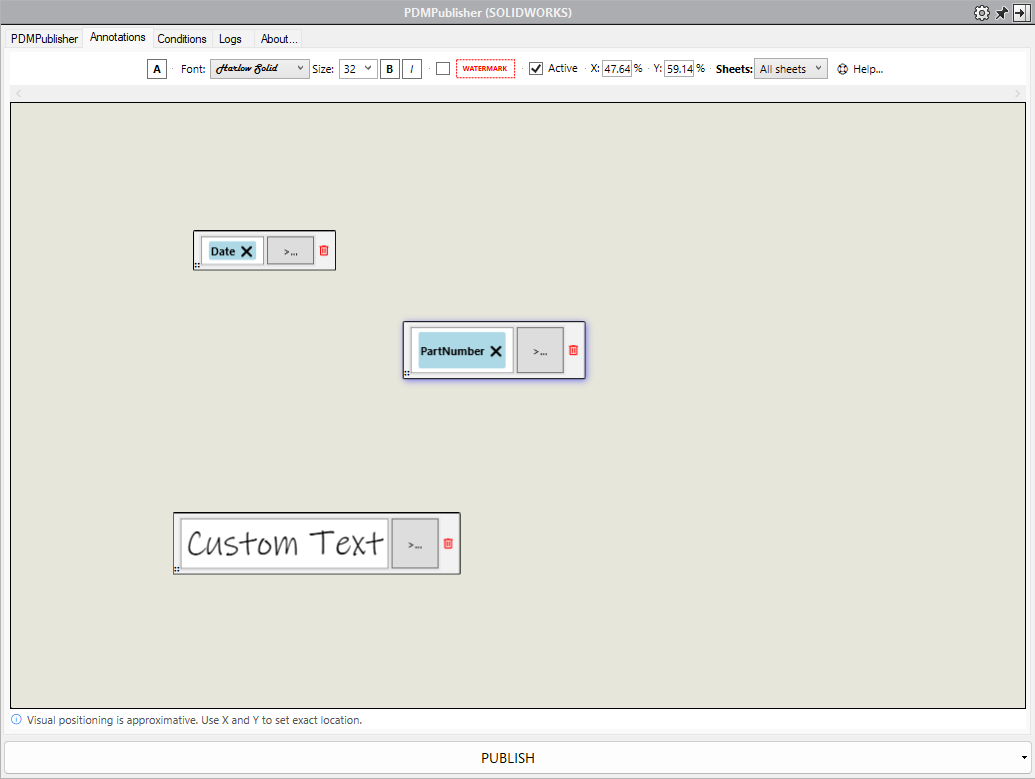
Formating the Annotation Text
- Once the annotation text is added, you can adjust its formatting, including font, size, bold, or italicize.
Note
Each annotation can use a different font type and size, and they can be controlled independently. The active annotation being edited is highlighted with a blue shadow for easy identification.
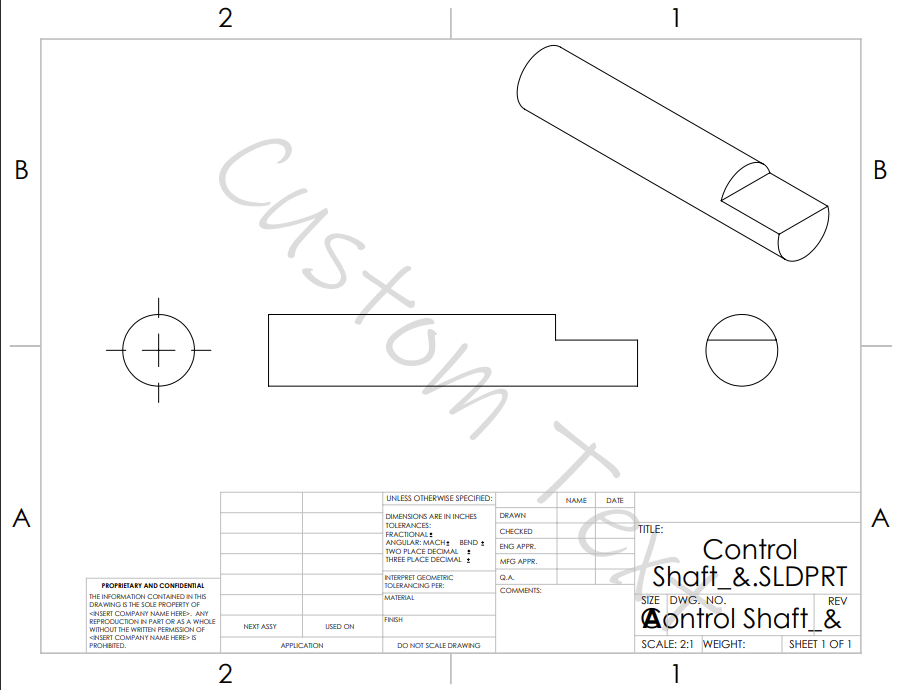
Watermarks
- Selecting the Watermark checkbox will rotate the active annotation 45 degrees during publishing. The text will also be made semi-transparent to avoid obscuring the content of the published file.
Active Checkbox
- The Active checkbox determines whether the selected annotation will be included in the published output.
Note
New annotations are active by default.
QR Code
- This option converts the active annotation into a QR code that can be scanned using any smart device equipped with a camera. The same as any other annotation, the QR code can be placed anywhere on the drawing.


Note
The size of the QR code is controlled by the Width setting located to the right of the QR Code checkbox.
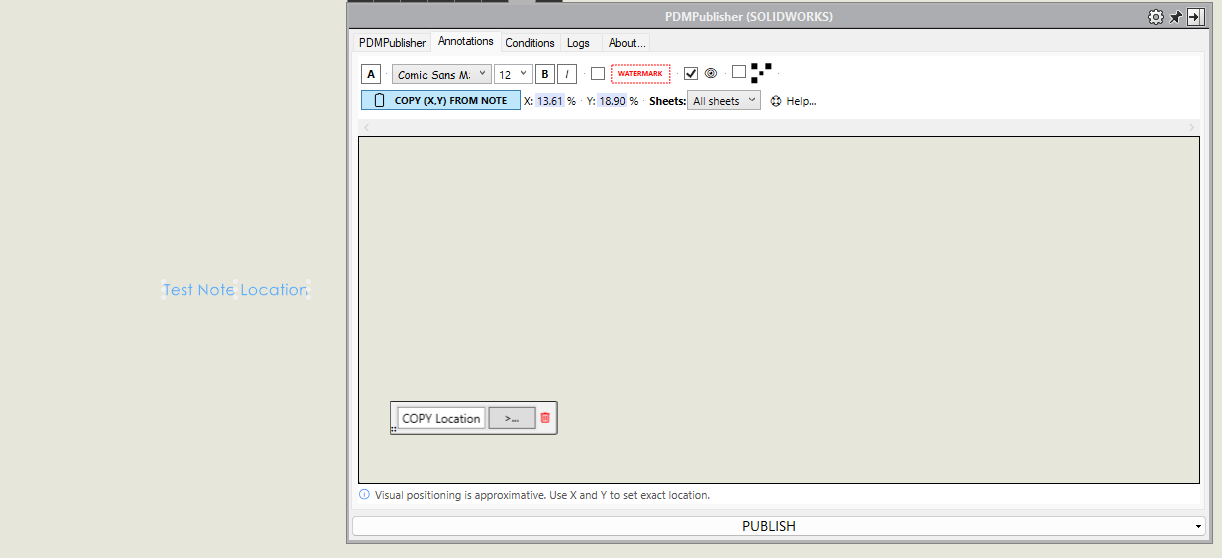
Annotation Position
- Each annotation can be repositioned manually by clicking and dragging from its bottom-left corner to the desired location.

Alternately, Each annotation can be set using the X and Y coordinates. X is a percentage relative to the width and Y is a percentage relative to the height of the sheet.
It is also possible to copy the position of existing annotations. This is done by following the steps below.
In PDMpublisher, navigate to the Annotations tab.
Select the PDMpublisher annotation that you want to position on the drawing.
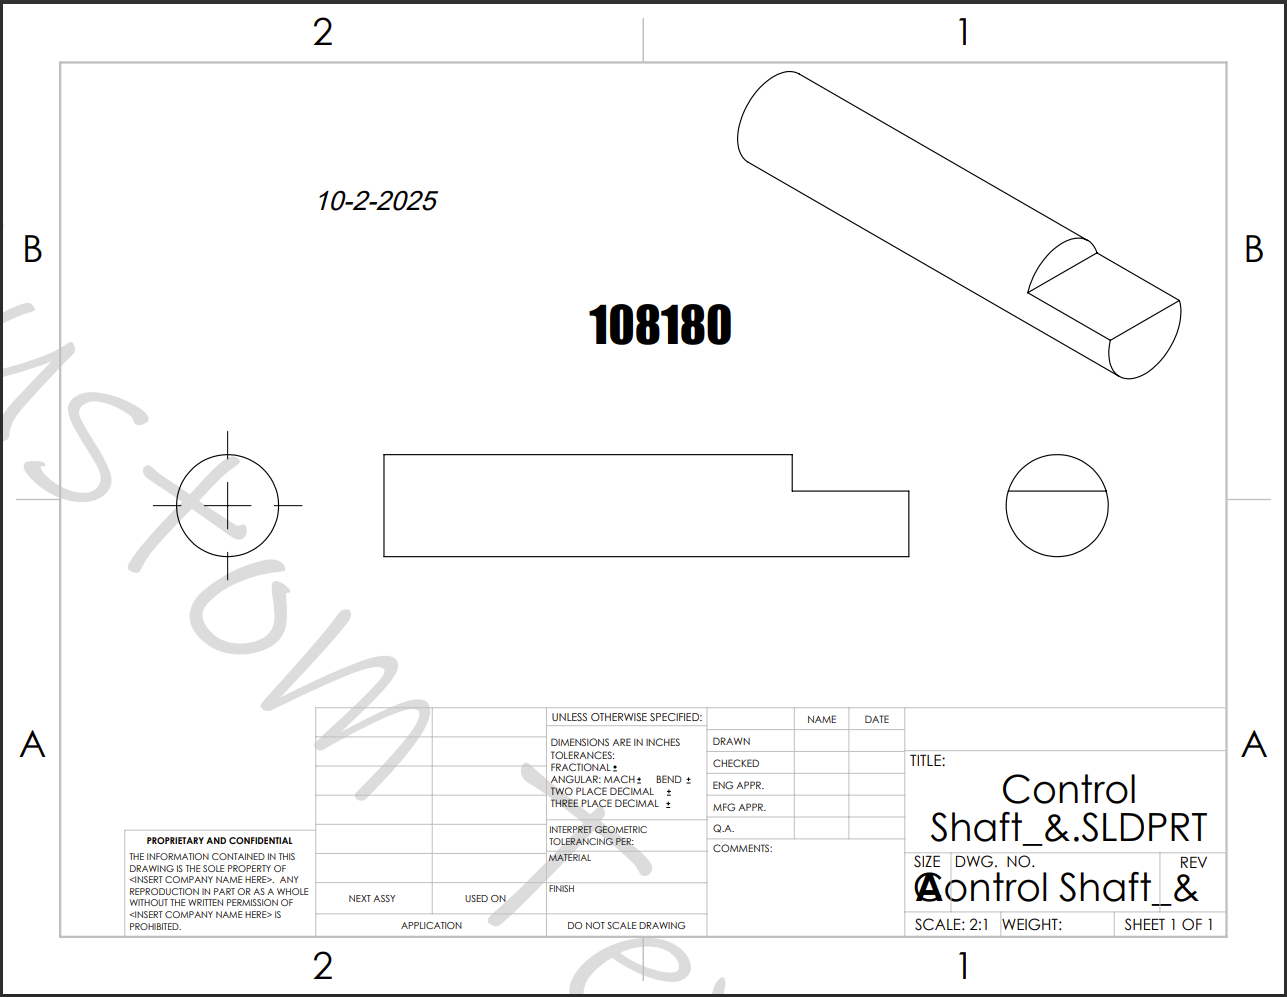
In the active SOLIDWORKS drawing, select an existing note that will be used as a reference for positioning.
Return to the Annotations tab in PDMpublisher and click Copy XY from Note.
The X and Y coordinates of the selected SOLIDWORKS note are copied.
The PDMpublisher annotation is automatically positioned at the same location.
Once positioning is complete, delete the temporary SOLIDWORKS note from the drawing sheet.
Click Publish to generate the output.
Sheets
- Sheets specifies which page where the annotation(s) will be placed on multiple page drawings. Each annotation is individually controlled by the Sheets feature.
